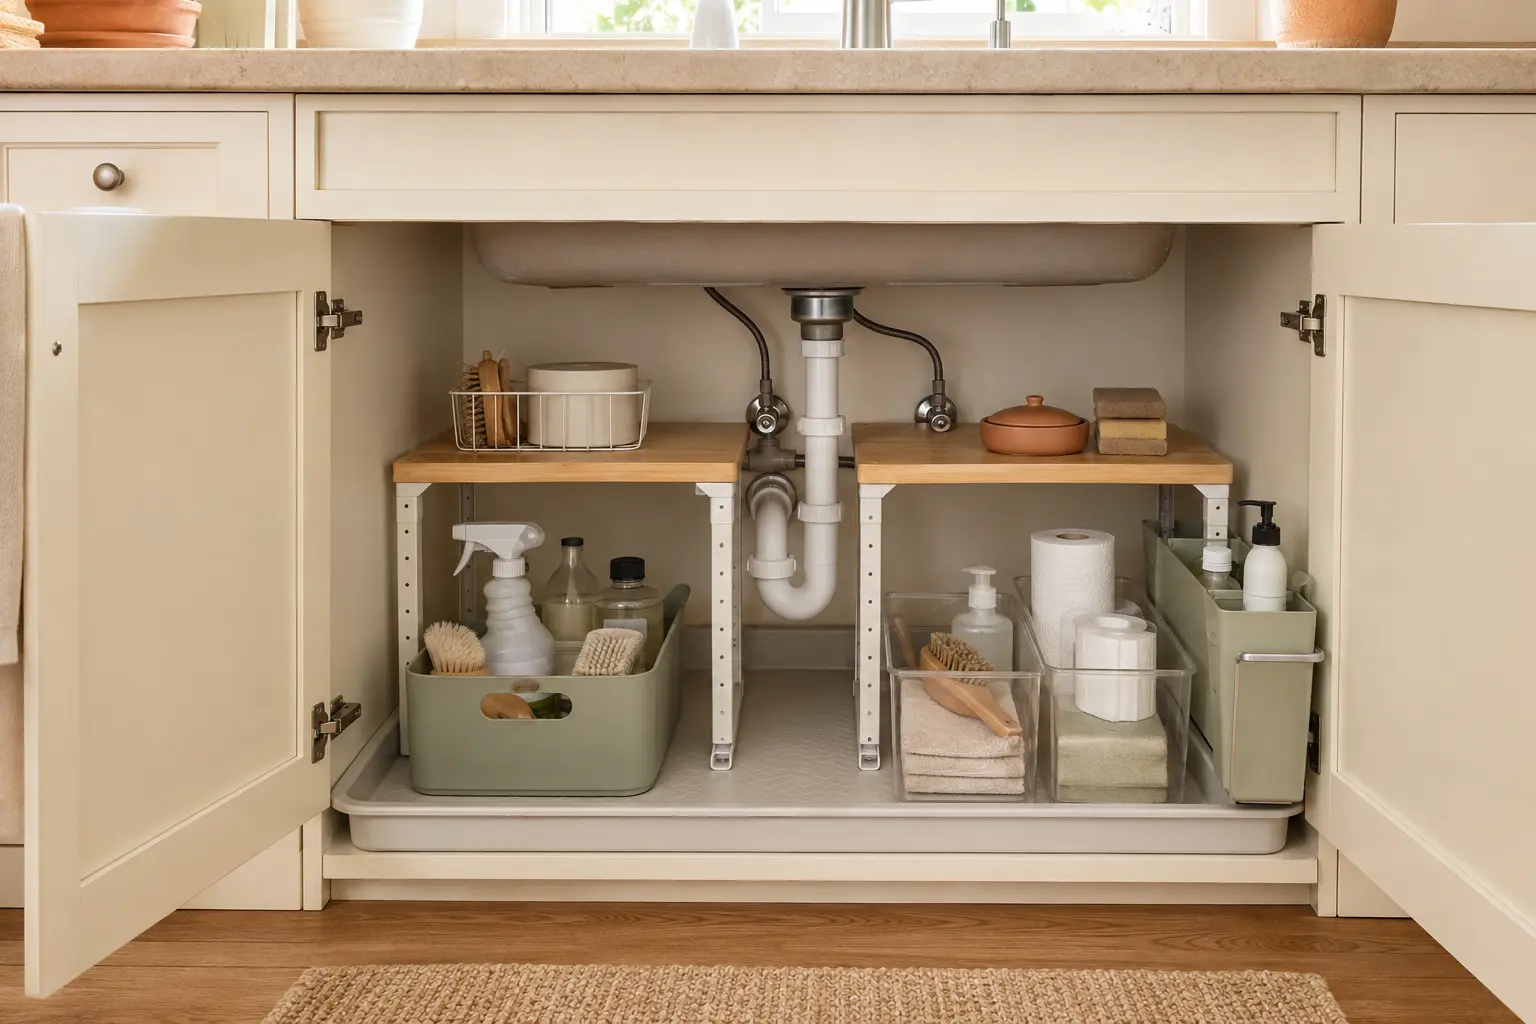
Less clutter, more room
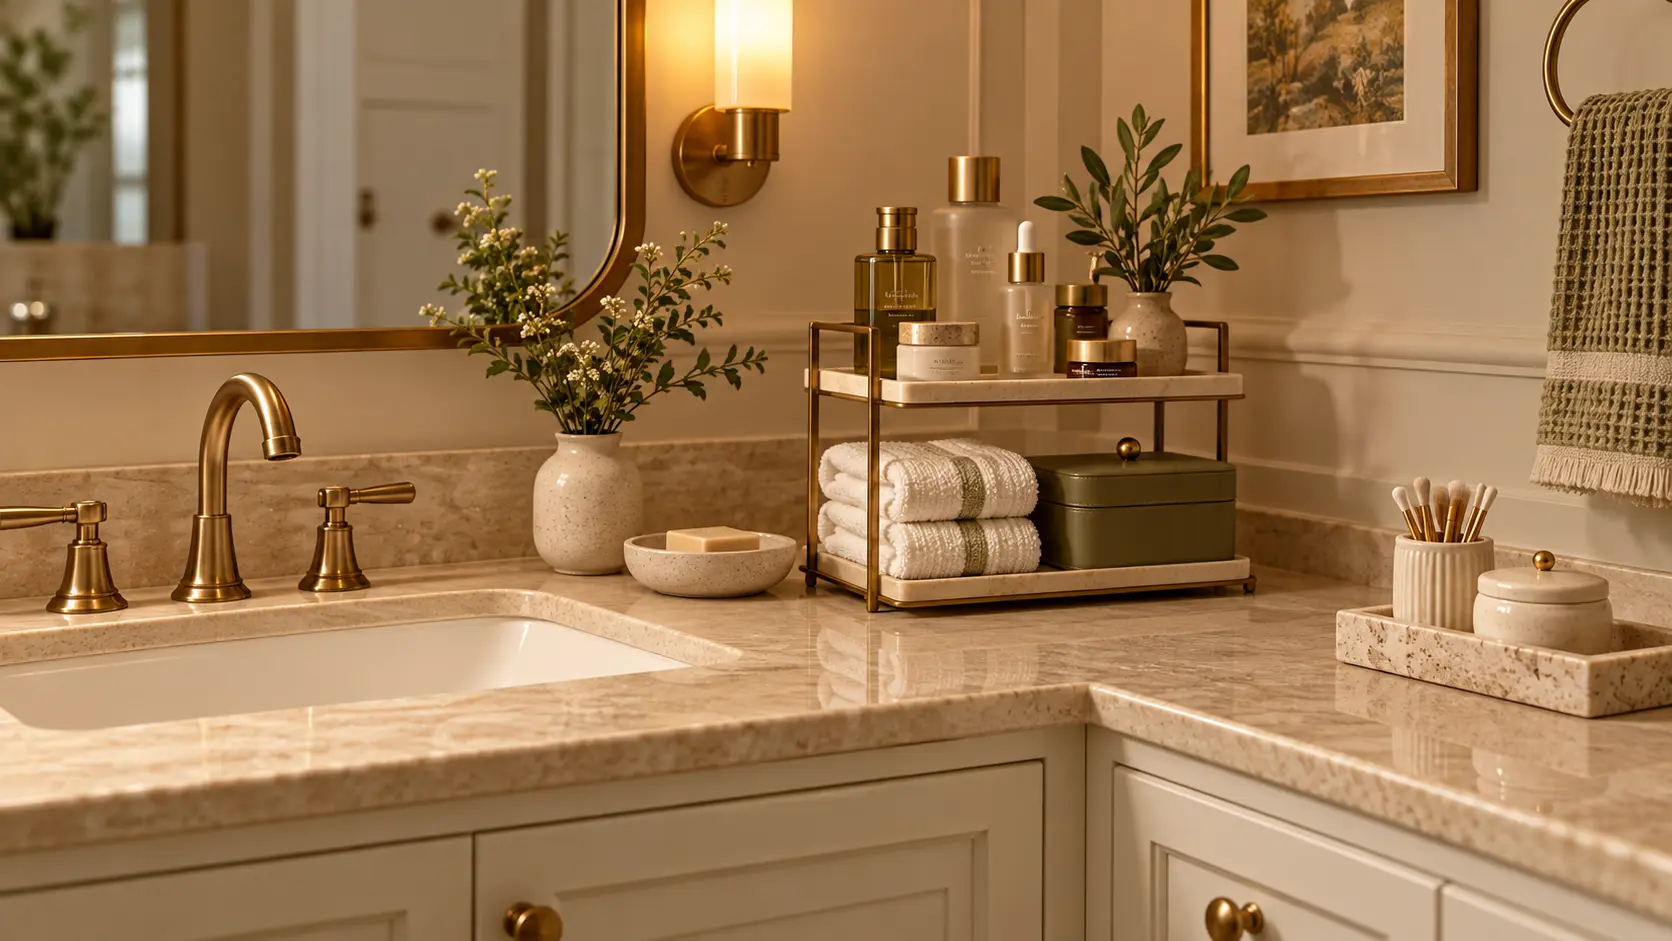
Bathroom Vanity Organizer Measurement Guide Before You Buy
A practical checklist for choosing a bathroom vanity organizer that keeps daily products visible, dry, and easy to clean.
A bathroom organizer should make the morning routine faster, not turn the vanity into a display shelf. The best choice depends on counter depth, product height, water exposure, cleaning habits, and how many items genuinely need to stay out every day.
Buying notes
Before a product earns space in your home
Use these checks to avoid buying a piece that looks good in a photo but fails in daily life.
Measure the exact space
Check materials and cleaning
Match finish and light tone
Keep access and walkways clear
Use this guide to compare: Bathroom vanity organizer · Tiered bathroom tray · Skincare organizer · Countertop storage box · Small towel tray · Drawer divider set
Measure the dry zone first
Before choosing a tray or tiered organizer, identify the part of the vanity that stays driest during normal use. Keep products away from the splash zone around the faucet and leave enough open counter space for washing, shaving, makeup, or skincare steps.
Count daily-use items only
A vanity organizer works best for the products used every day: cleanser, moisturizer, sunscreen, toothbrush supplies, or a small set of grooming tools. Backup products, travel sizes, and rarely used treatments belong in a drawer, cabinet, or lidded bin.
Check product height and mirror clearance
Tall bottles can hit a medicine cabinet door, mirror shelf, wall light, or low ledge. Measure the tallest bottle you want to keep out, then add clearance for lifting it without tipping the organizer forward.
Choose materials that match moisture
Bathrooms are humid, so material matters. Smooth plastic, metal with a durable finish, sealed wood, ceramic, or stone-look trays are easier to wipe than raw woven materials. Use baskets inside closed storage rather than directly beside the sink.
Leave room to clean the counter
If the organizer is too heavy or crowded to lift, cleaning becomes a chore and dust builds around the edges. Choose a piece that can be moved with one hand after products are removed, or use smaller trays by category.
Separate wet tools from skincare
Toothbrushes, razors, hair tools, and skincare should not all share the same open tray. Wet items need drainage, drying space, or a separate cup, while skincare containers should stay dry and closed.
Try a temporary layout before buying
Use a plate, small tray, or shallow box for three days and place only the items you think should stay on the vanity. If the group still looks crowded, buy less storage for the counter and move more items into drawers.
The takeaway
Keep the change easy to live with.
A good bathroom vanity organizer protects one clean counter zone, keeps daily products visible, handles moisture, and remains easy to lift for cleaning. Measure the dry area before buying the organizer.
Keep the guide close
Save all 7 ideas for your next home reset.
Keep this visual guide nearby and return when you are ready to make one simple, useful change at a time.
Save on Pinterest