Make every inch count
Kitchen Countertop Organizer Measurement Guide Before You Buy
A practical pre-purchase checklist for choosing a countertop organizer that saves space instead of crowding your small kitchen.
A countertop organizer can make a small kitchen calmer, but only when it protects your prep space. The mistake is buying an organizer because it looks tidy in a product photo, then discovering it blocks a cabinet door, steals the cutting area, or becomes a shelf for random clutter. Use this measurement-first checklist before you buy anything.
Buying notes
Before a product earns space in your home
Use these checks to avoid buying a piece that looks good in a photo but fails in daily life.
Measure the exact space
Check materials and cleaning
Match finish and light tone
Keep access and walkways clear
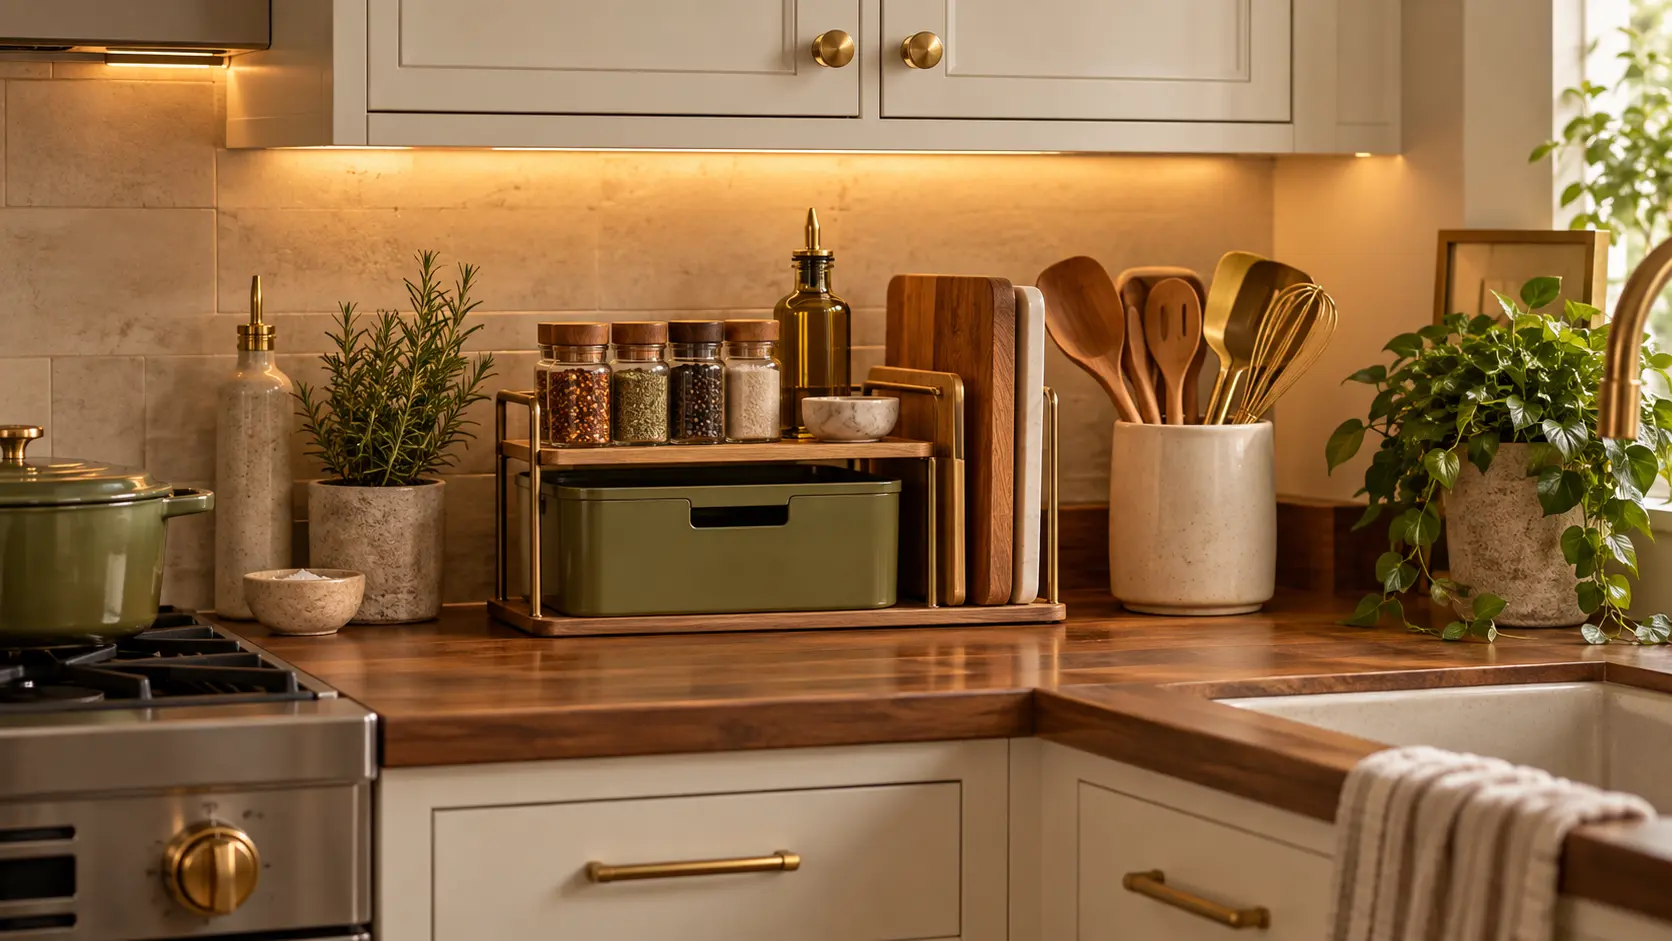
Use this guide to compare: Countertop organizer · Spice jar rack · Cutting board holder · Utensil crock · Small kitchen tray · Olive storage bin
Start with the counter space you cannot lose
Measure the clear area you need for everyday prep before measuring the organizer. In a small kitchen, one open work zone matters more than a perfectly styled corner. Mark the space used by your largest cutting board, then keep that zone clear when choosing where an organizer can sit.
Check cabinet and appliance clearance
Measure the height from the counter to the bottom of upper cabinets, shelves, microwaves, or lighting strips. Then check whether tall bottles, spice jars, cutting boards, or utensils will hit anything when you remove them. A compact organizer should let you lift items out naturally, not pull them forward at an awkward angle.
Choose one job for the organizer
A countertop organizer should solve one repeated problem: spices spread around the stove, cutting boards leaning against the backsplash, coffee supplies scattering, or daily tools taking over a drawer. When one organizer tries to hold every category, it often becomes visual clutter instead of storage.
Measure depth before width
Depth is usually the measurement that ruins a small counter. A wide but shallow organizer can sit against the backsplash and leave prep space in front. A deep organizer may look compact online but push into the work zone. Measure from the backsplash forward and decide the maximum depth you can spare.
Plan the heaviest items on the lowest level
If the organizer has shelves, drawers, or vertical slots, place heavier items low and lighter items high. Oil bottles, ceramic jars, and dense containers need a stable base. Boards, towels, small spice jars, and lightweight packets can sit higher if they remain easy to remove.
Think about cleaning around it
A useful organizer should lift, slide, or empty easily enough for regular cleaning. Kitchens collect crumbs, oil film, dust, and water marks. Avoid designs with too many tiny compartments if you know you will not clean each one. Smooth trays and removable bins are easier to maintain.
Use the no-purchase test first
Before buying a new organizer, group the same items on a tray, baking sheet, or shallow box for three days. If the group makes cooking faster and keeps the counter calmer, then a purpose-built organizer may be worth buying. If the group still feels messy, the problem is probably category choice, not the organizer itself.
Avoid product-photo assumptions
Product photos often show fewer items than a real kitchen owns. Check dimensions, material, weight capacity, return terms, and care instructions on the current retailer or manufacturer listing. Do not assume a photographed setup will fit your outlet placement, backsplash height, cabinet clearance, or cooking habits.
The takeaway
Keep the change easy to live with.
The right countertop organizer is not the one with the most compartments. It is the one that fits your counter depth, protects one clear prep zone, solves one repeated problem, and remains easy to clean after the first week.
Keep the guide close
Save all 8 ideas for your next home reset.
Keep this visual guide nearby and return when you are ready to make one simple, useful change at a time.
Save on Pinterest